3D drivers (openGL) have awlays been a source of problem on Linux.
A lot of people just don’t care, since they don’t use there computer
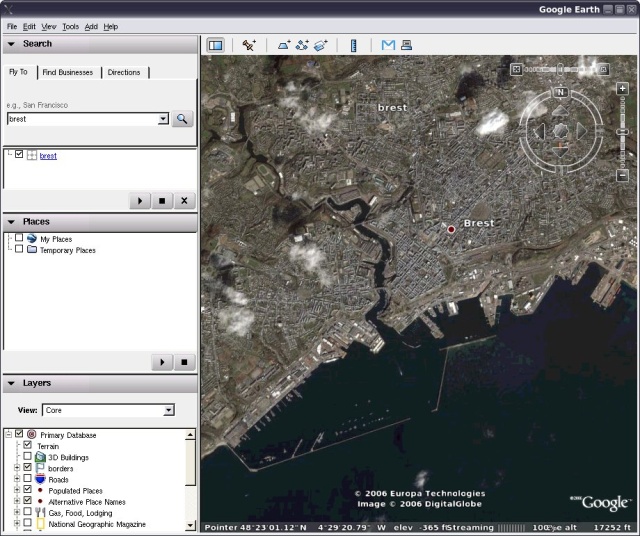
to play games. But yesterday, something change this fact: Google released
a native version of Google Earth for Linux[1]. As I already played with
Google Earth before, I really want to test this new toy.[2]
Fine, except that I’m unable to get hardware openGL working and Google Earth is
really slow, so I decided to fix that. (done on two computers..)
Be sure to have AGP (Device drivers->Character device) and DRM (Device
drivers ->Graphic drivers) enabled for your card. Now rebuild it using
the usual way.. and reboot.
After the boot look at dmesg, you should find something like this:
agpgart: Detected 892K stolen memory.
agpgart: AGP aperture is 128M @ 0xf0000000
[drm] Initialized drm 1.0.1 20051102
...
[drm] Initialized i915 1.4.0 20060119 on minor 0
[drm] Initialized i915 1.4.0 20060119 on minor 1
- (If you have a Dell computer like D400 with Intel 855GM, you need to
- choose the i915 driver for DRM, edit the linux/.config since it doesn’t
appear in common menuconfig)
This is the tricky part, since Xorg update are not really easy this days.
sudo apt-get install xserver-xorg
Let’s go, for a long update… (I’m switching from 6.9 to Xorg 7.0)..
I spent a little time to fix some errors here.. but nothing really important.
Now, you need to install the openGL libs, simple apt-get this packages:
- xlibmesa-dri
- xlibmesa-gl
- xlibmesa-glu
- mesa-utils
- libgl1-mesa-dri
- libgl1-mesa-glx
Start your Xserver, and look in /var/log/Xorg.0.log, you should fine stuff like
this:
(II) I810(0): [drm] created "i915" driver at busid "pci:0000:00:02.0"
(II) I810(0): [drm] added 8192 byte SAREA at 0xe0b2f000
So we can test check with glxinfo
display: :0  screen: 0
direct rendering: Yes
server glx vendor string: SGI
server glx version string: 1.2
Be sure to have direct rendering ok.. if this is ok, .. you can start glxgears..
and Google Earth :) ..
Some users have some trouble w/ DRI not working with strange messages
( sizeof(I830DRIRec) does not match …), or strange display updates (out of syncr
windows .. ). This seems to be bugs in Mesa, you can try the latest experimental
(which fix all issues for me). Simply install this packages:
libgl1-mesa-dri_6.5.0.cvs
libglu1-mesa_6.5.0.cvs
libgl1-mesa-glx_6.5.0.cvs
Update: Added issues w/ my Dell Latitude D400
Update2: The latest mesa from the Debian SID is working right now (no more experimental)